Total Pageviews

Sunday, 29 January 2012

Cabling the beast

Before I can fit the legshilds I have to route all the control cables that need to be straped in order to the lower down tube. Below is a list of the cables and their lengths  I will do soon)
  • Upper gear control 68"
  • Lower gear control 69"
  • Clutch
  • Throttle
  • Rear brake
  • Speedometer 

First I put on the speedo cable. The threaded collar from the cable's rear end needs to come off first remove  the spring C clip just outside of it. Feed through the legshild an into the toolbox ready to connect to the speedomiter. At the backend, feed the inner into the driveand put the screw collar back on to the cable push the C clip on behind to lock in place and screw it onto the drive.


First I placed the throttle then the upper gear then lower gear then the clutch along the down tube of the frame.

I placed several zip ties to hold lightly so you can move around to get best fit. .

Throttle Feral
Working on the rear brake cable next from front to back. after putting the ferral in the frame bracket pass the cable through the fram cable guide and through the clip which is bolted to the kikstart housing and back to the rear adjuster.

Feral
Next, the lower gear cable.

It goes over my home made brake switch bracket, over the frame crossmember, and behinde the kickstart cable retainer and up to the lower part of the selector box.

Gear cables in place


Now wrap the 2 gear cables around the back of the handlebars and over to the shifter. Gear lower cable goes in the lower hole, gear upper goes in the upper hole. The throttle goes back and to the right, and goes into the receptacle hole in the throttle control. The clutch cable stays in front of the handlebars, bends over to the left and goes into the hole for it in the clutch lever perch.
cable route

Now for the front brake cable, which hasn't even been on the bike 'til now. You'll have to inch it along down thru the hole in the fender, thru the right fork leg welded-on guide, down to and thru the cast-in guide on top of the link enclosure area at the bottom of the fork, and finally into the front brake ferrule which installs in the hub back plate.
Rear brake light

The fender and upper fork guide holes are keywayed, which means that they will bite into the cable sheath and tear it up if they're forced or pulled, so just slowly and gently lift and help the cable along thru these and you won't regret the effort; you will if you don't take this care
upper gear cable feral
 
This picture refers to the clearance between the speedo cable and the brake light switch. The location of this portion of the speedo cable is controlled by the placements of the zip tie foreward of this point, and the cable guide on the crossmember to the rear. Since the zip tie is gonna stay where it is, you adjust the speedo cable clearance of the switch by where you tighten down the crossmember cable guide, slide it inboard until it runs safely under the switch and doesn't interfere with the switch spring operation Though it's a pain, wait until the legshield is on to finally position the switch bracket for height and on/off adjustment before you tighten it down. illustrates this nicely.
Rear brake cable clip


Now install, hook-up and adjust all of the inners to all the controls. When they all seem to work well then tighten the zip ties (with the exception of the top one) and cut off their excess length. Check operation again to see that you didn't overtighten any ties and bind any cables up.
Clutch cable not connected yet


Now you can put on the legshield. Put a cloth over the top edge where it goes under the locking ring so you don't scratch the paint. Put in the rear edge first, then as you begin to tuck the top front down, pull the four cables momentarily around the back of the fork tube to get them under and behind the legshield's fixing bracket before you try to spread it around the fork tube.


Rear brake and Speedometer


I clipped the 3 left and 2 right together to enable easy routing.


 This is now ready for connecting up the handlebar switch to the main wiring loom.


I used the following web site for information for this proceedure.
Aunt Jonbretta's Tech Recipies for LDs


Friday, 9 December 2011

Legsheild Toolbox


Legsheild Toolbox words


Part of the MKll is a steel toolbox that sits on the inside of the leg Shields. This item was missing form my collection of bits from the previous owner. I foud a website in the USA which was so cheap it covered the cost of postage.


When  ordering I had a choice of no holes or two holes. So I ordered the no holes version as I am not keen on the blanking plate if l was unable to find an original wind up clock for the left hand side hole.


The one draw back is the speedometer sits in this toolbox so I need to cut a 47mm hole out of the toolbox. I need to mark a circle that is 47 mm in diameter and drill a few holes just inside the line. Remove the center and file to the line.


Not a bad job but next time I would buy with the holes and fill the clock side.


A coat of spray filler to show all the low spots.


 Now fit toolbox to the legsheild.
Ready for the toolbox.


Four bolts on the inside

Then fit toolbox rubber.Then fit toolbox lock and check the door closes nicely.


Then fit the speedometer. 


A home made clamp for the speedometer was made as l was not going to pay £13 on E*£y. 


Nice snug fit al-round.


Looks cool I think.


http://www.shermonkel.com/


theraleighchopper.blogspot.com


Thursday, 1 December 2011

Handlebars

This is what l found on the handlebar front... messy cables and oxidised aluminium handlebars.

First strip off old parts and order new cables and rubber shields. It was cheaper to get the rubber Shields from Italy even with postage.


The cable adjusters below are rough. hopefully Santa is bringing a new pair.


I discovered that one part of the throttle collar was broken. A replacement was easy to find and order from an on-line auction site. The cable guide on the twist grip was corroded away so I need to replace that also.


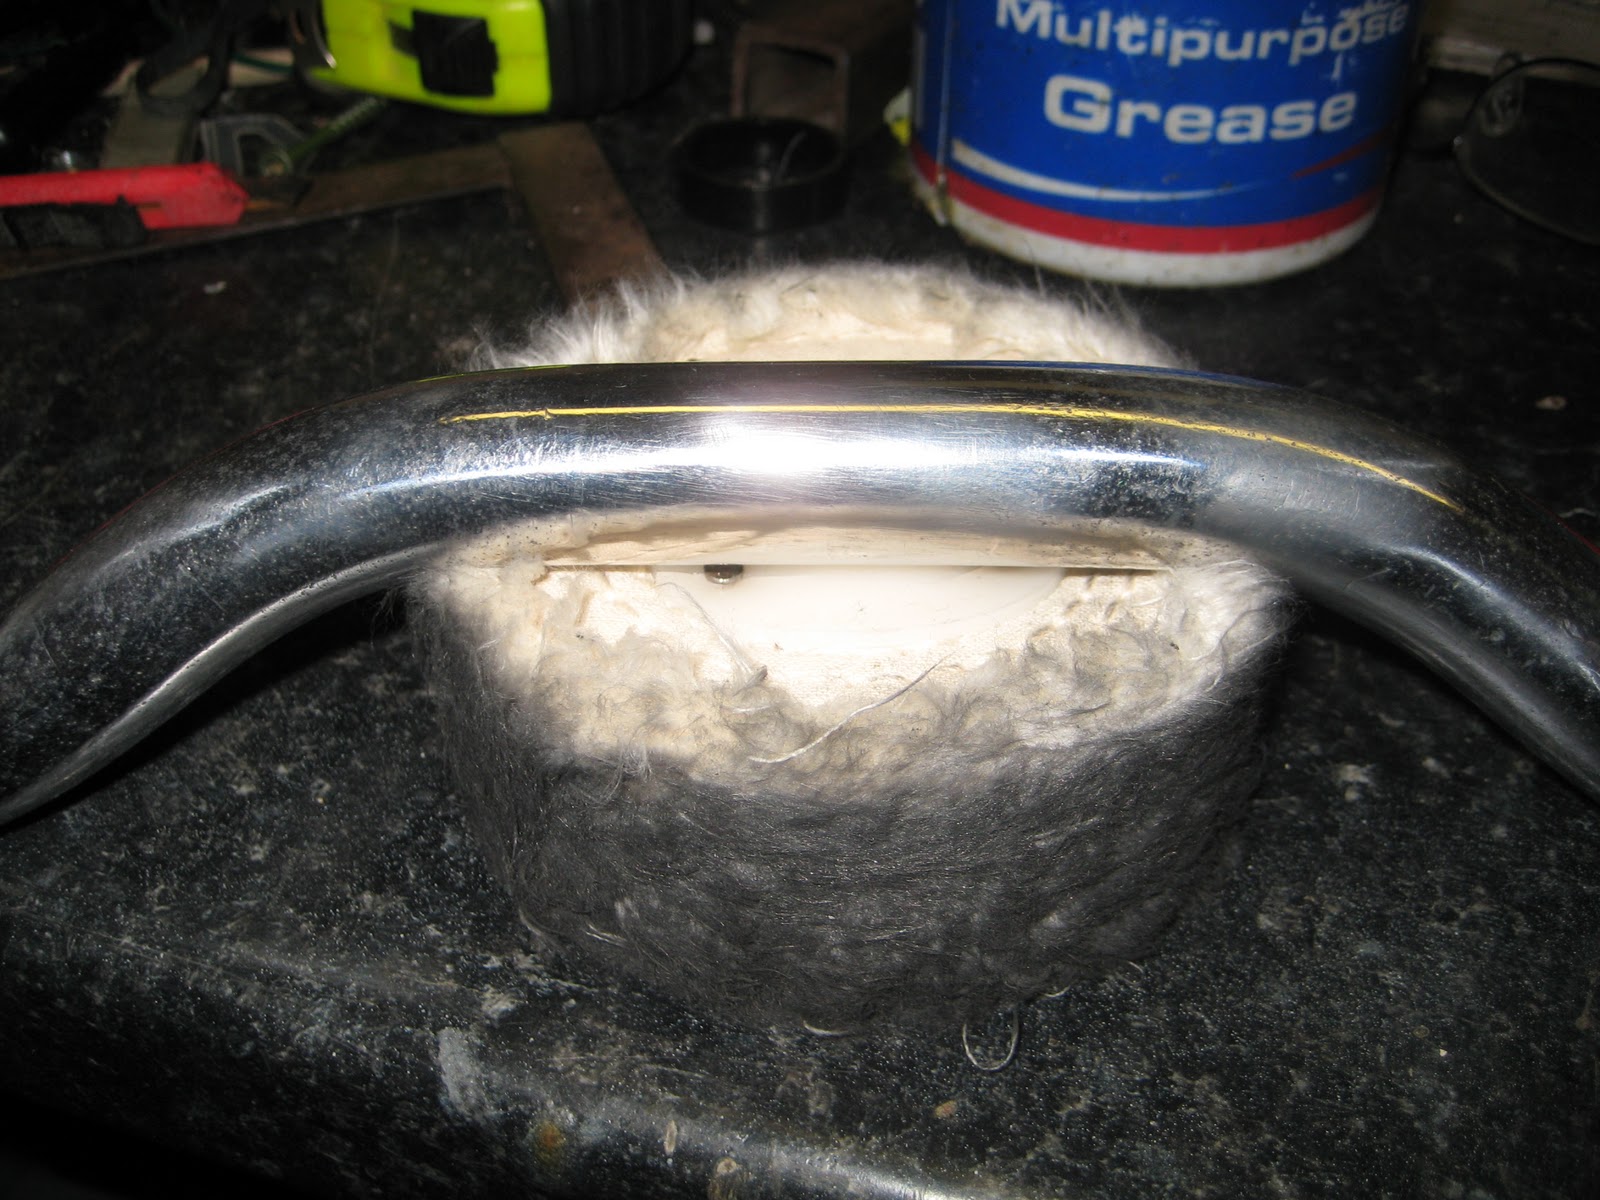
A bit of  a soak in petrol and plenty of elbow grease brings the aluminium up nice!


Gear selector is in good nick and should polish up nice.


A steel set of bars with the throttle  twist grip seized solid in place from an  on-line auction site for £18, not to bad as long as I can remove without doing more damage.


The aluminium cable ring was not connected to the steel grip so I mixed up some liquid metal and left under compression in a vice over night.


The bars are straight but very dull and pitted.I will not be able to polish out all the pitting marks as the marks are quite deep and I would like to use the original bars.


A lot more polishing needed..


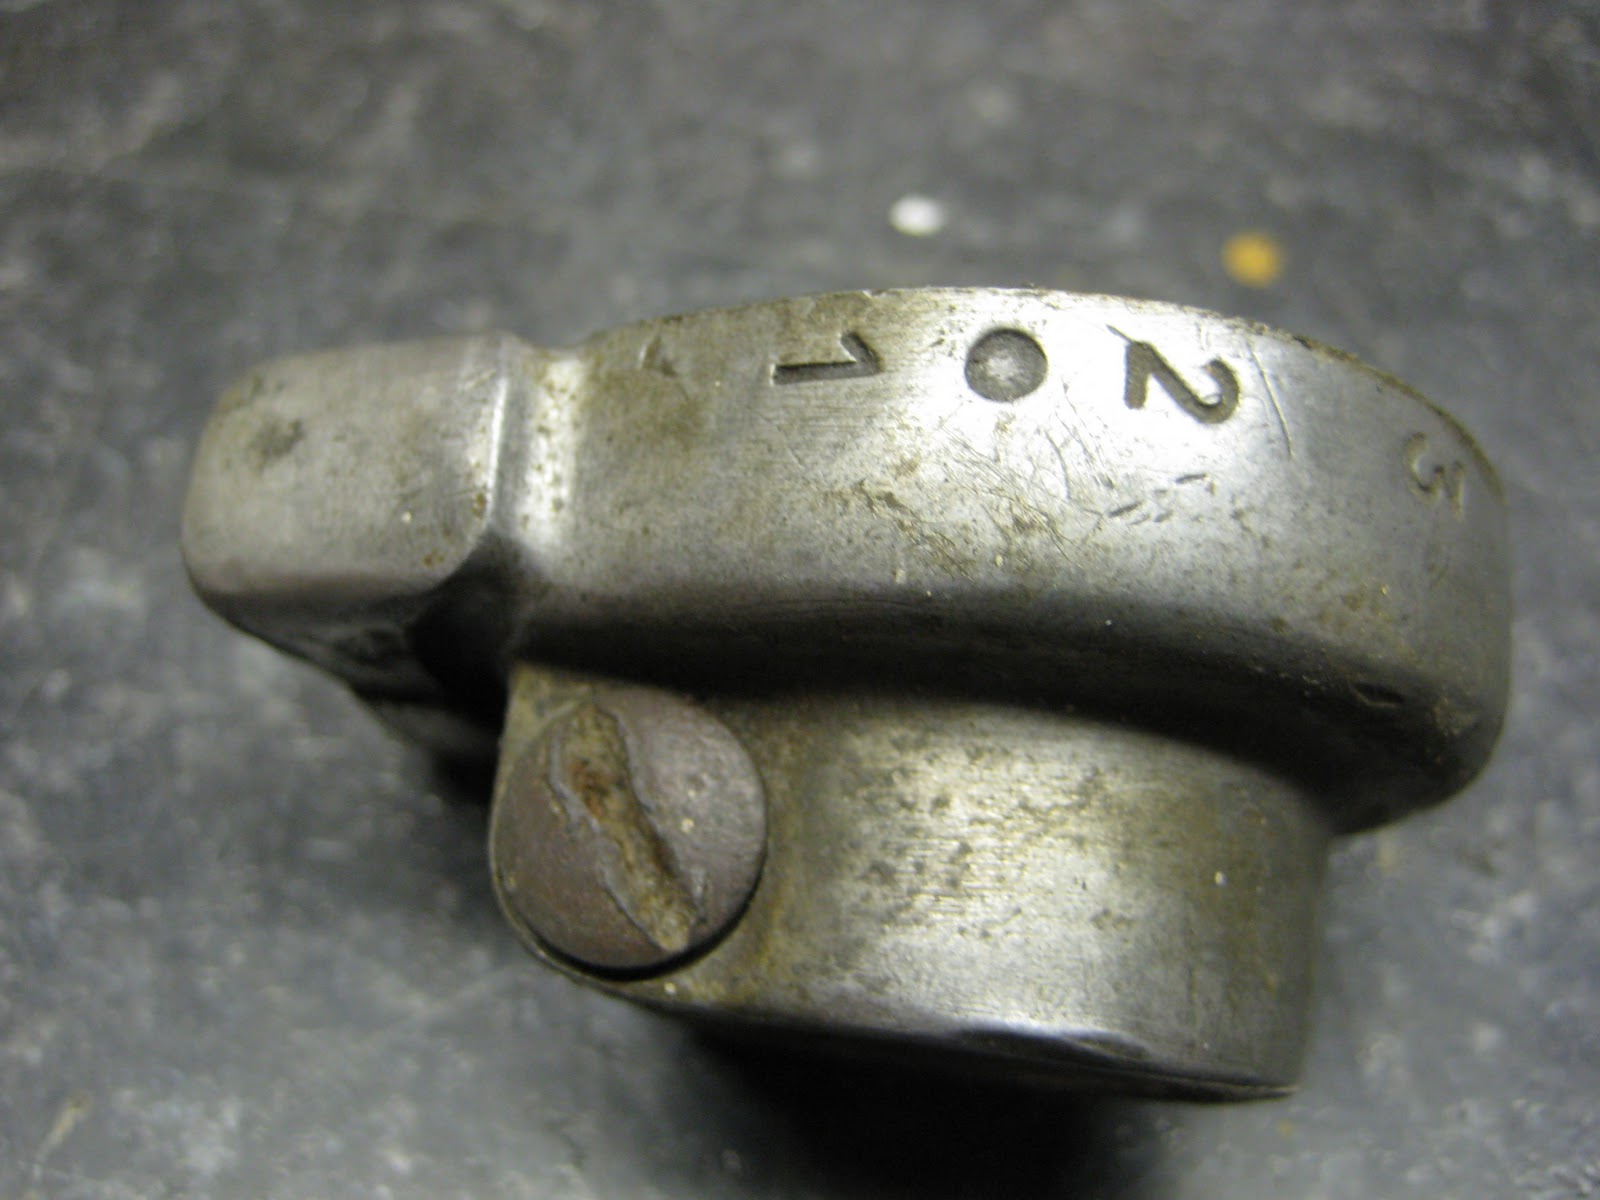
I also need to polish the center clamp taking special care with the top part of the clamp as the word TELEFLEX is stamped on it I would like to keep this.


The bits have been polished as much as needed to look nice and clean.


Time to add the clamp and bars to the scooter.


First the lower part of the handlebar clamp. Then clamp the handlebars insuring they are central.


Add the steering lock and tighten the clamp bolts.


So the light switch needed replacing well it was nearly 60 years old. On tring to fit new light switch to the bars I found the centers of the holes were out by about 4 mm. I had to drill a new hole and tap for the screws to fit.


Now fitting and looking great.


After fitting the levers that santa sent me, I find there is a sleeve missing from the gear change grip.


http://www.shermonkel.com/

thetriumphtina.blogspot.com