Total Pageviews

Wednesday, 26 October 2011

Axle and Pinion bearings and seals

Whilst talking to other LD builders I was told I need to change the Axle seal and bearings also the Pinion bearing and seal. I had already build the engine and gearbox, so I had to take apart the rear of the gear box after finishing in that area.


Remove the wheel.

Remove the large hub nut.


Now remove the brake hub.

Remove the speedometer cable, also remove the speedometer drive housing. 

Then disconcert the rear break cable and remove the brake operating arm.  

Now time to remove the brake shoes. Undo the top brake shoe pivot bolt and the bottom operating arm. 

Remove the four Axle Oil seal retaining plate.


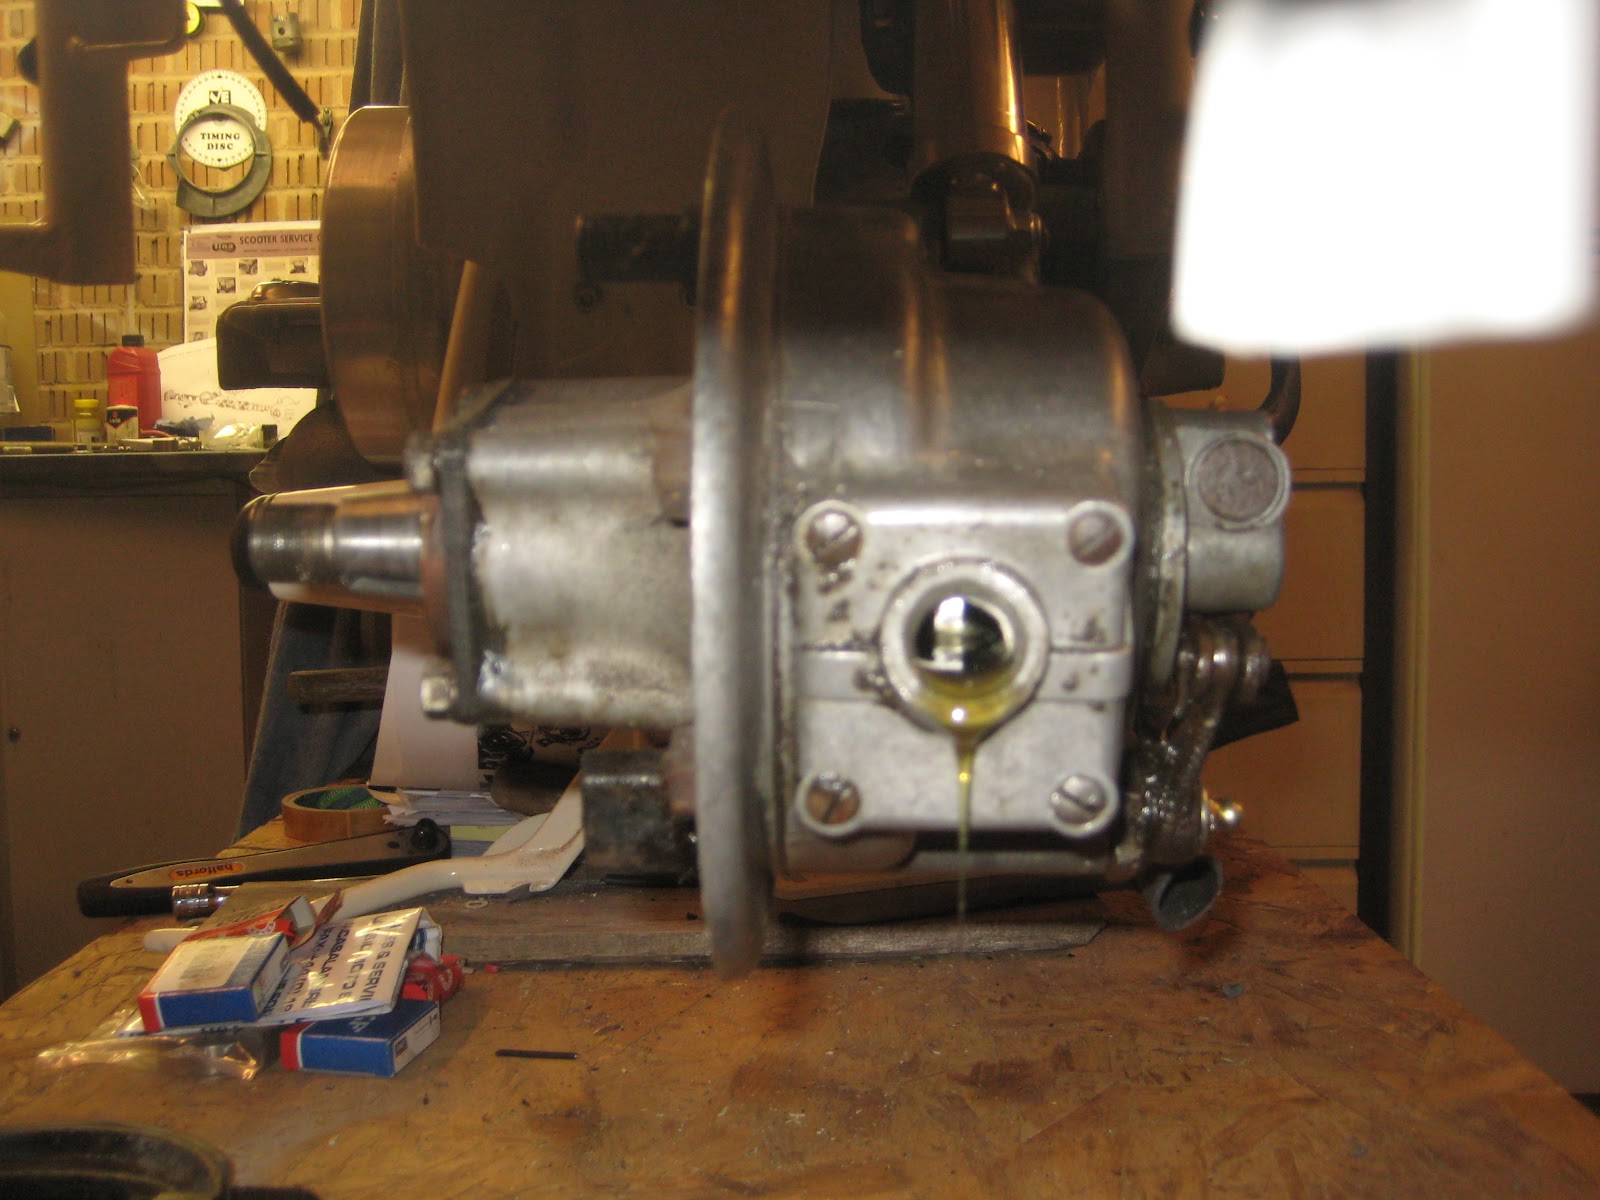
Time to start getting at the pinion. Remove the level plug and drain oil.

Remove the Conical Spring Washers


Remove Axle hub assembly. 


What a mess inside, glad I have followed Steve J's advice.


Starting to move.


Nearly out!!.
The seal is set in the centre of the spacer, the old one was full of debris 


Old set-up

Notice the broken conical spring washer 
New set-up
New pair of Conical Spring Washer fitted.
New Gasket to finish of the Pinion rebuild.


Now to Changing the Axle Bearings and Oil Seal.


Remove Speedometer drive pin.
Followed by the castle nut.

Then the washer.


Finally remove the crown wheel.


The Axle can now be removed from the back.

The bearings are each side of a spacer.

The spacer can be seen better in this picture.

One bearing removed.

Both bearings out just the little O ring to go.


All the axle components.


http://www.shermonkel.com/


Saturday, 6 February 2010

Mend the Metal


The big bits first.


The Legshilds needed a bit of feteling first and a tad of mig welding. strip off old paint then weld and straighten as best as I can. My desire is to keep as much of the original scooter as possible. only replace when l have to.


First StageSoon on went some primer and knife putty. After laying on the paint l move the panels to the loft where in the Summer it has been 40 degrees C. More light sanding and primer. 4 coats of grey primer as stated in the de structions. 4 coats of Beige and 4 coats of lacquer (from a tin of corse)
.


Not bad after just two coats of Beige, just two more then some lacquer.


Nice and clean looking ready for the six rubber strips with stainles steel ends.


http://www.shermonkel.com/

The stip down


First the engine or what I have in large bits. as you can see I did not have a lot to go on. those of you that know a bit about the internal combustion engine there is a large important part absent !!
yes the crankshaft. more on that later.

when it came to the metal work l was more at home (being an ex steel fabricator/welder) so I layed out all that l had been given in the bargin purchase. several lists came for my first investgation.

My Lambo

Over the coming months I hope to upload some pictures of my latest project restoring a 1955 Lambretta LD150. It all started January. I was looking for a project to work on in my favorite place, my garage. first I though of a classic car but soon realised that I neither had the time or money for this so decided two wheels would be easier than four.
my short list was
Raleigh Chopper 1971 (in Yellow)
BSA C15 250
Honda super dream 250
Triumph Tina
Vespa
Lambretta
As I remember my brother was a MOD so l started scouting for cheap scooters from the late 50s or early 60s. Wow they go for mad amounts of cash. but I was lucky, or so I thought as I found a 1955 LD in lots of small pices for £500.

also look at


http://www.shermonkel.com


http://triumphtina.blogspot.com

http://theraleighchopper.blogspot.com/